Quick Git Management with Lazygit
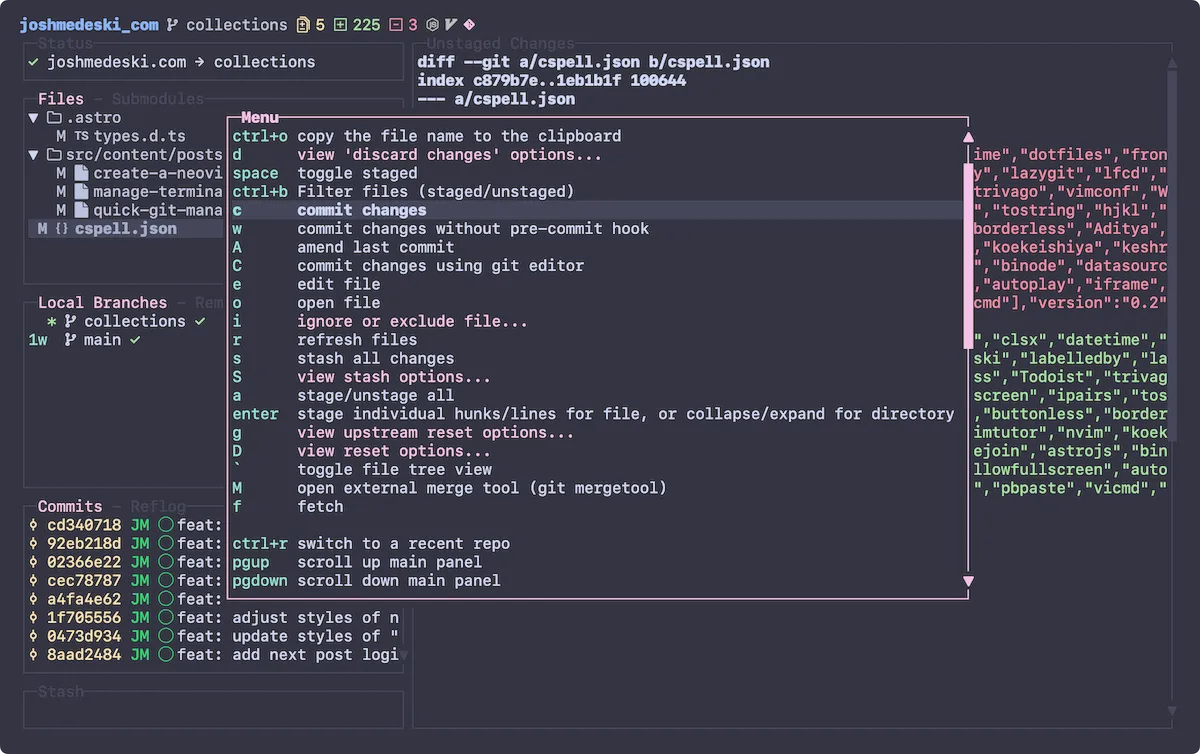
Git is a central part of the development workflow. It’s important to have a good understanding of how it works and how to use it. lazygit is a terminal UI for git that makes it easy to run common git commands efficiently and with ease.
simple terminal UI for git commands
Install
To install lazygit, you guessed it, run the following homebrew command.
brew install lazygitIt can be opened by moving to a in your teriminal to a git repository and run the lazygit command. It will open a terminal UI that offers a lot of useful git commands. You can view the available commands by pressing ?.

Custom shortcut
As mentioned in the tmux intro, we can setup lazygit to a custom macOS style shortcut cmd+g. This can be done by adding the following to your ~/.tmux.conf file.
bind g new-window -n 'lazygit' lazygitThis will bind lazygit to <prefix>g in tmux. To map that to cmd+g add the following to your alacritty config file in the key_bindings section.
key_bindings: # ... existing keybindings - { key: G, mods: Command, chars: "\x02g" } # open git manager 'jesseduffield/lazygit'Now, you can press cmd+g to open lazygit from anywhere in your terminal. You can press q while in lazygit to close it and return to wherever you where previously.
Configure
For macOS, the configuration is located in the user application support file. Here are a few basic configuration options.
gui: showIcons: true theme: activeBorderColor: - magenta - bold inactiveBorderColor: - black showFileTree: true # for rendering changes files in a tree formatos: editCommand: "nvim" editCommandTemplate: "{{editor}} {{filename}}"keybinding: universal: quit: "q"How to use
Using lazygit is pretty straight forward. Here are a few common commands that I use often.
spacetoggles the selected file to the staging areacopens the commit window, which lets you write a commit message and commit the staged changesPpushes the current branch to the remote
There are many more commands including branch management, interacting with history, and more.
Conclusion
lazygit is the quickest and easier way to manage git repositories. It’s a great tool to have in your toolbelt and I highly recommend it. Binding to cmd+g makes it very quick to open and close. I recommend looking through the lazygit wiki to learn more about creating custom commands and more.
Sign-Up for New Posts
Stay in the loop and get the latest blog posts about dotfiles sent to your inbox.
Or use the


